Due to the Covid-19 pandemic, there has been a lack of concerts to photograph over the last two months. I thought I would use this downtime to write a few articles focusing on Concert Photography and other music-related themes. This first article is about how I approach shooting a concert to make it interesting for the reader. Â
Photographing a concert is not much different than making a movie or writing a book. The goal is to tell a story that keeps the interest of your audience. Itâs about capturing the experience of the show and sharing it in such a way that others can feel what it was like being there. Simply taking a series of closeups of the performer’s face is not going to portray the experience and will not maintain the attention of your audience. After three or four nearly identical photos, they will lose interest and move on to something else.
One of the main ways to keep interest is to introduce variety of photos from the event. I try to make each one unique from the previous one to build a story. This can be accomplished in many ways such as varying camera focal length and orientation, changing perspective and location, adding environmental photos, and using creative post-processing.

I shoot with a Nikon D750 full-frame DSLR with 24-70mm f2.8 and 70-200mm f2.8 lenses. These lenses allow me to quickly vary my focal length, providing different looks and feel to my photos. I can go from a headshot to ¾ length, to full length, to full stage shots in a matter of seconds which can be critical if there is a three-song or less limit in place. Shooting close-ups allow me to capture the expressions and emotions of the performer, whereas wider angle shots allow me to capture more of the atmosphere of the performance. Shooting wide also allows me to introduce the crowd into the story and to grab that group shot of the band at the end of the show.


One mistake I always made when starting out was always holding my camera vertically, which resulted in all my photos looking like portraits. While I do add this type of shot to my photo set, it does not fully capture the feel of the show. I learned quickly that camera orientation is especially important in capturing the concert experience. I will shoot vertically to isolate a single band member and then rotate the camera horizontally to capture more of the environment.

Tilting the camera 45 degrees can provide a great look especially if the stage lights can be captured over the performerâs shoulder or head.


Another way I add variety is to change perspective. Shooting high, low, straight on, from the side and behind the stage, all provide different looks. Getting low and shooting up at the performer can give them a powerful and dominating presence.


This can also facilitate adding stage lights and lens flare into the photos which can make the photo look more artistic.


I like to use stage lights to add interest to photos and create interesting effects like silhouettes.


Itâs easy to get that urge to migrate right to the front of and as close to the performer as possible and then stay there. However, I like to move around a lot, shifting from the left front to the center, and then to the right front of the stage. I also make an attempt to get to the side of and behind the stage as well if access allows.


All these different shooting locations provide a different look and help to put me in a position to capture closeups of each band member. If there is an upper level, then I will shoot from there to get full stage and crowd photos.


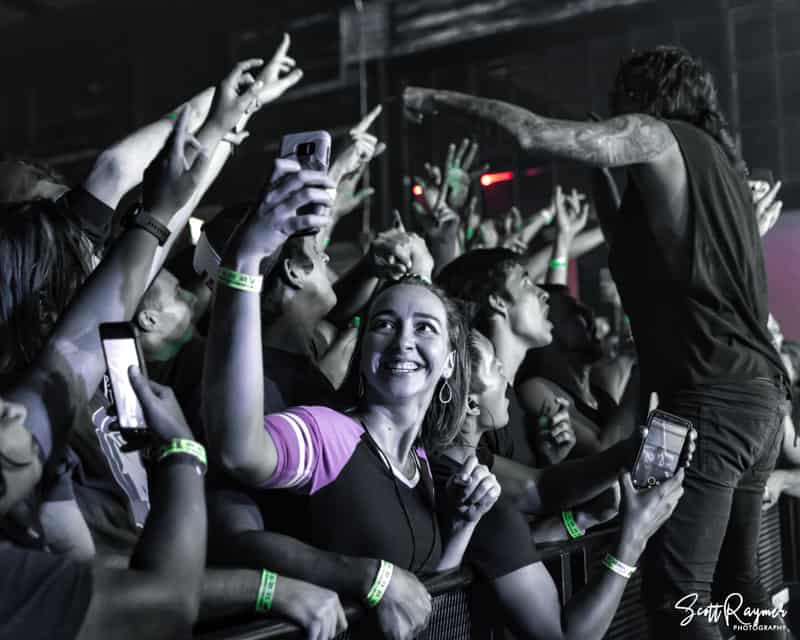
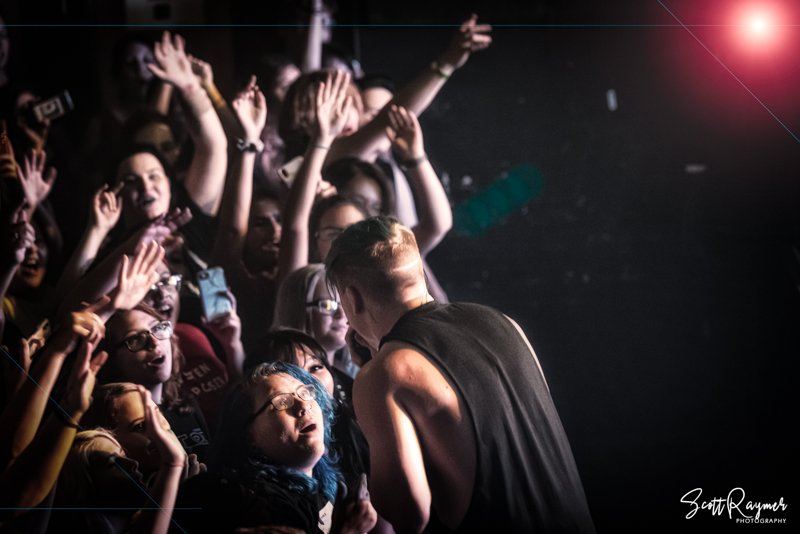
Towards the end of the show, I always go into the crowd to get shots from the fanâs perspective.


I am always looking for unique photo opportunities. Photos do not need to be restricted to just the performer. I try to document the whole concert experience. This can begin before even entering the building by capturing photos of the venue, a marquee displaying the name of the band or a line of fans waiting for entry.


Once inside, I look for interesting looking fans and stage props.


When the band takes the stage, I scan for interesting looking instruments, t-shirts, tattoos, hats, etc. Sometimes performers try to make a statement with their gear or attire.


If the lighting is adequate, then I like to get photos of the crowd especially if I can capture some emotion.


Early on, I shot in .jpeg format because file sizes were small, and the photos looked more vivid straight out of the camera. However, I learned that in concert photography it is important to always shoot in .raw format. This facilitates post-processing and allows more latitude with adjustments to exposure, color correction, and pulling details from the shadows. Stage lights constantly vary in color and intensity which makes it incredibly difficult to nail exposure and white balance consistently.
Once photos are loaded on the PC, I cull through them to pick out the best ones for editing making sure to include photos of each band member, as well as full stage shots showing the entire band. Concert lighting is notoriously bad with a lot of red and purple color casts which can be difficult to correct. When there is a good photo that exhibits bad color cast, I like to convert to black and white or use more creative post-processing.


Adding a vignette can pull the reader’s eyes to the focal point of the photo. I also like to add tonal and color variations to some of my photos. A couple of my presets I like to apply are a bleached look and a black and gold look. Both can help to cancel out some of the red lighting. However, itâs important to not overdo it with the post-processing.


Hopefully, you found these tips helpful. And by the way, I never forget the drummer!! Always look for the drummer shot at the very start of the show since it can be hard to get a clear view.


Post and photos by Scott Raymer (Website | Instagram | Facebook)
Did you attend this tour? Comment below.
FOLLOW US!
Instagram l Facebook l Youtube l Twitter
SUPPORT US!
AND ‘SUBSCRIBE’ to our email newsletter to know the very moment a new post is published!
#ConcertCrap
The post “How I Approach Photographing a Concert” appeared first on Concert Crap.

